
Weather Status
Moving from Normal to either Delayed or Closed
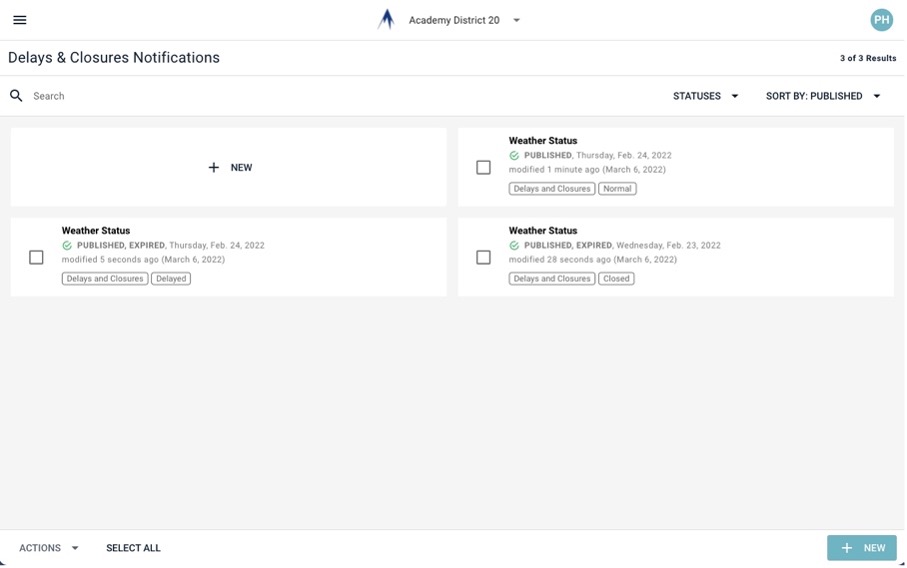
- On the left side menu of the CommCenter, go to Notifications and choose Delays & Closures.
- Choose the status message that has the status category being moved to, Delayed or Closed, and open it.
- On the Settings tab near the upper left, set the publish date and time to the current date and time. Set the expire date and time to 4 p.m. on the day of the delay or closure. Click the Publish button at the lower right.
- Go back to the list of Delays & Closures notifications. Choose the status message with the category Normal and open it.
- On the Settings tab near the upper left, set the publish date and time to 4 p.m. on the day of the delay of closure. Set the expire date and time to a far future date (+1 year or more). Click Publish at the lower right.
Turn Off Weather Status
In certain instances, it may be helpful to prevent the Weather Status from showing at all. For example, if a school is closed for some unforeseen event, a banner may state that the school is closed, but the Weather Status (normal, delayed, or closed) may add confusion.
- Open the status that currently exists on the school.
- Go to the Settings tab near the upper left.
- Under Destinations, uncheck the school where you don’t want the status to show.
- When the event is over, restore the school to the list of destinations.