
Images - How To
Images can only be uploaded in the message view of the Communication Center. You can upload multiple images or just a single image. When you upload an image it is automatically resized and saved in multiple sizes, so you should not have to do much in terms of adjusting its file size.
Uploading an Image
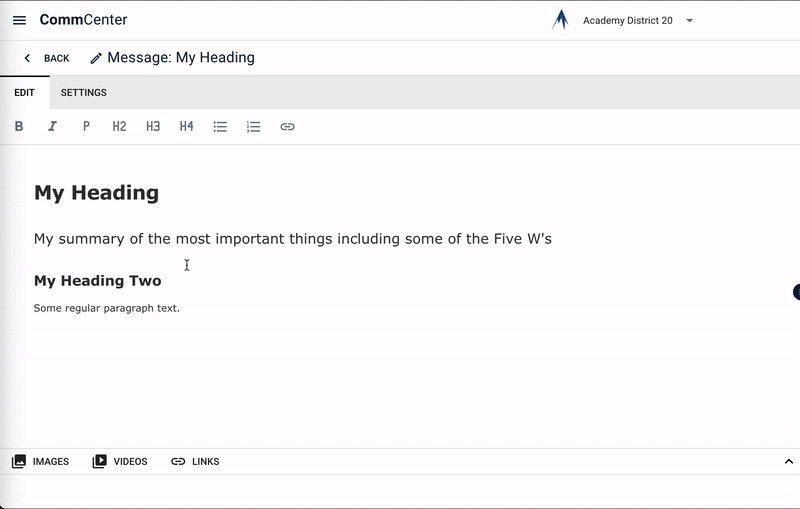
While in the message composer, go to the bottom of the screen and look for the images icon 
- Click on “images”, then you can then select the image or images you want to add.
- You can also drag and drop the image or images you would like to add.
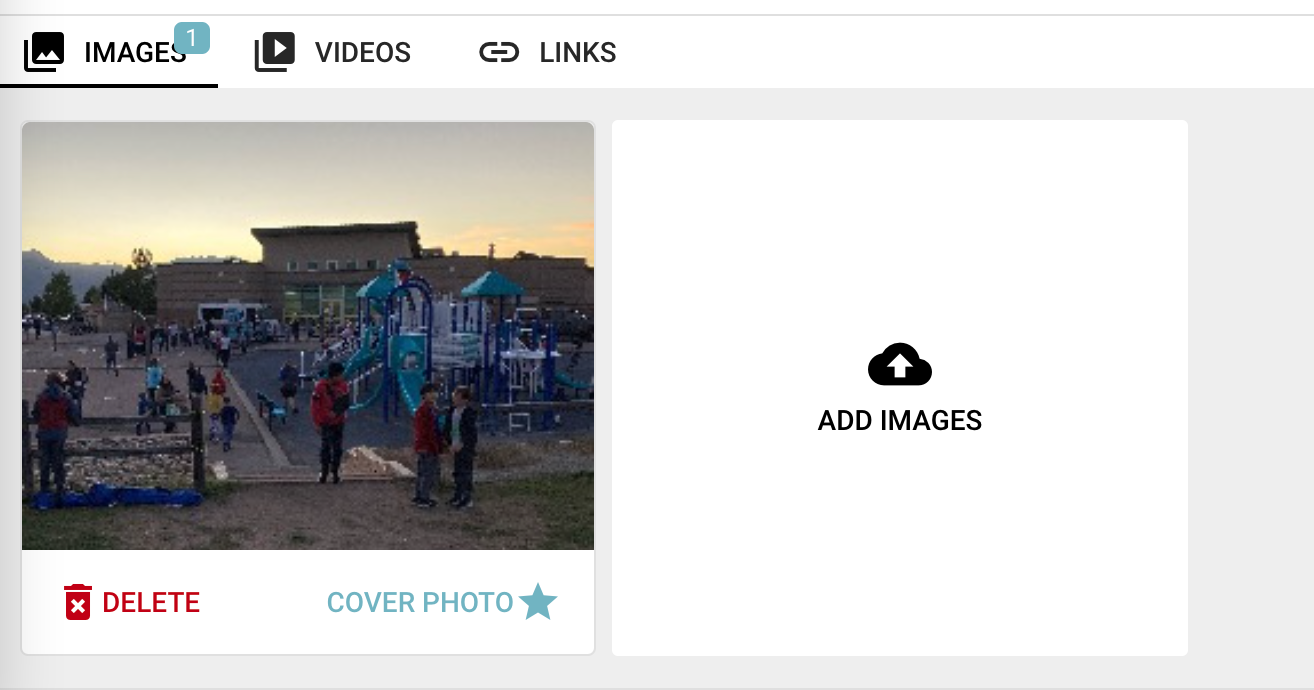
If there is more than one image, it will automatically be shown as an image gallery at the bottom of the page.
You can drag and drop images in the image list to change their order.
Image Alt Text
Alt text is required for every image. This text is read by screen assistive technologies if the reader can't see the image.
During image upload, AI-generated alt text will automatically be added to each image when possible. You can manually edit alt text if needed by clicking on the image in the gallery.
Adding alt text is required. If alt text was not provided at upload, or if the generated text is not accurate, enter it manually.
You can also use Generate Alt Text from the image editor to regenerate alt text for an existing uploaded image. Always read the generated text before publishing.
If an uploaded image appears to contain important text, CommCenter may show a reminder to add that information to the message body. Alt text helps describe an image, but it is not a replacement for accessible written content.
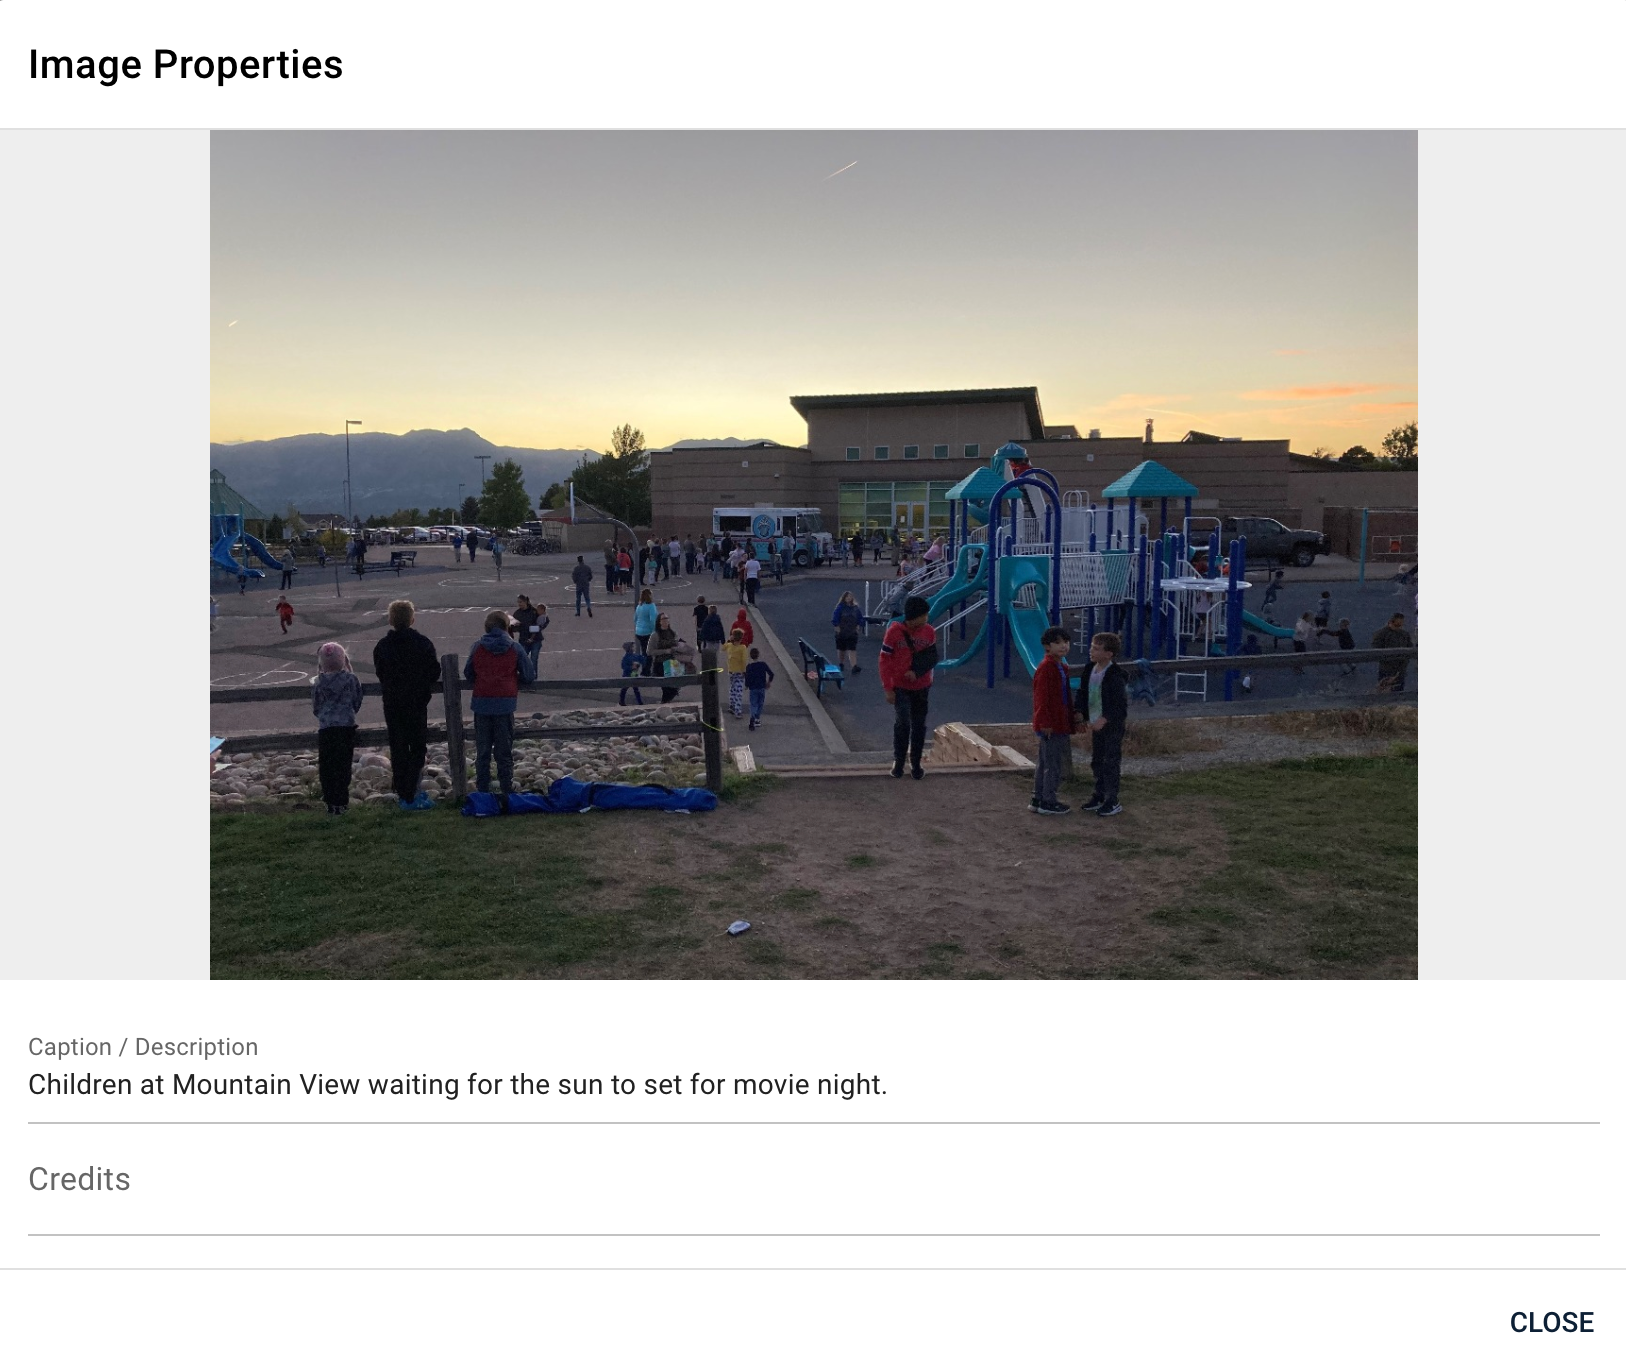
Image Captions
You can enter additional text about the image. For example, credit a person for the image, or add other descriptive information. This text will be visible on the image when published on the website.
Cover Image
You can select the star below the image you want that image to be the cover image. For feature/story feeds, the cover image will be the image that appears on the feed tile. It will also be the image in the header of the page. All additional images will appear in an image gallery at the bottom of the page. By default, the first image is the cover image.
Cropping an Image
Click an image thumbnail to open the image editor. If the image is large enough and is not already square, the Crop button will let you choose a square crop. Use the slider to choose the part of the image to keep, then select Save crop.
Cropping replaces the uploaded image with the cropped version. If the crop button is disabled, the image may already be square or may be too small to crop.
Deleting an Image
Images are associated with their message. To delete the image, find the message that has the associated image. Open the message and click the images icon at the bottom of the screen. Select the image or images you want to delete and publish the message.